Getting started with IDA Pro
Getting started with IDA Pro

Reverse engineering is a very important task in information security. It is highly performed in digital forensics, binary exploitation, vulnerability analysis, malware analysis and much more. In this article, we are going to explore an amazing tool called "IDA Pro".
Installation
According to its official website,
'IDA is a Windows, Linux or Mac OS X hosted multi-processor disassembler and debugger that offers so many features it is hard to describe them all'
There are two versions of IDA:
- Commercial version " IDA Pro"
- A free version of it called " IDA Free"
To install IDA Pro on Windows you just simply need to go to: https://www.hex-rays.com/products/ida/support/download.shtml

After installing it you can start it from its desktop shortcut
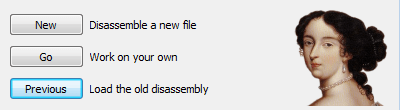
Once you start it, you will have the choice to work on a new project and load an old disassembly
As a demonstration, we are going to disassemble a simple malicious PE file from Paloalto Networks. You can download it from here: https://docs.paloaltonetworks.com/wildfire/7-1/wildfire-admin/submit-files-for-wildfire-analysis/test-a-sample-malware-file
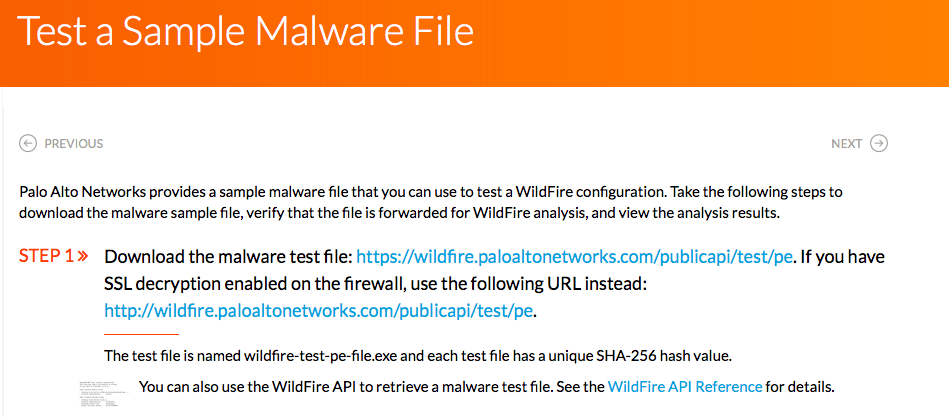
Don't forget to test the file on a sandbox or a VM
Portable Executable ( PE ) files are file formats for executables, DDLs, and object codes used in 32-bit and 64-bit versions of Windows. They contain many useful pieces of information for malware analysts, including imports, exports, time-date stamps, subsystems, sections, and resources. The following is the basic structure of a PE file:
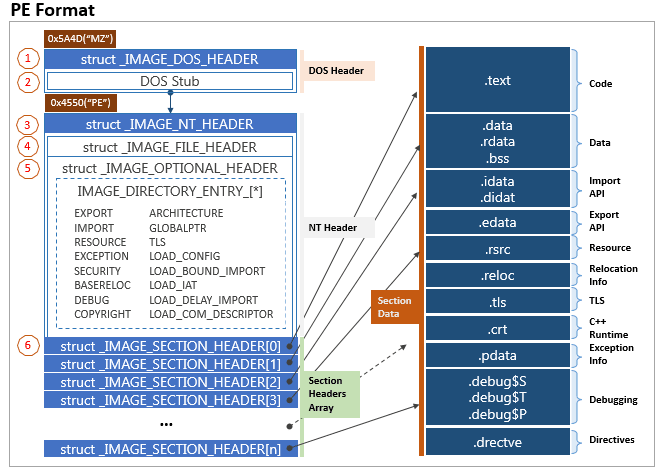
Source: pe_format.png
Some of the components of a PE file are as follows:
DOS Header : This starts with the first 64 bytes of every PE file, so DOS can validate the executable and can run it in the DOS stub mode.
PE Header : This contains information, including the location and size of the code.
PE Sections They contain the main contents of the file.
Load the PE file:
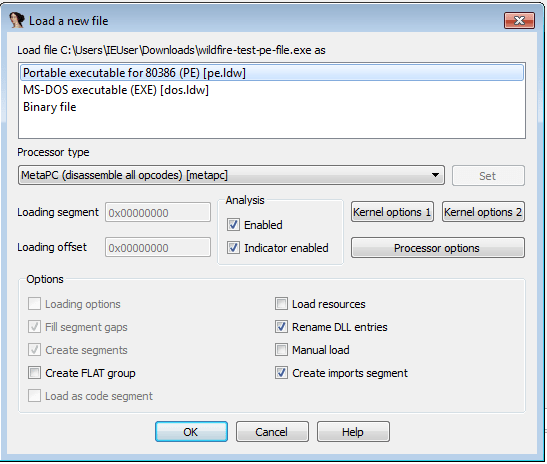
As you can see from the previous screenshot, IDA Pro is able to detect the file type automatically.
Press "OK" and will be guided to the main interface:
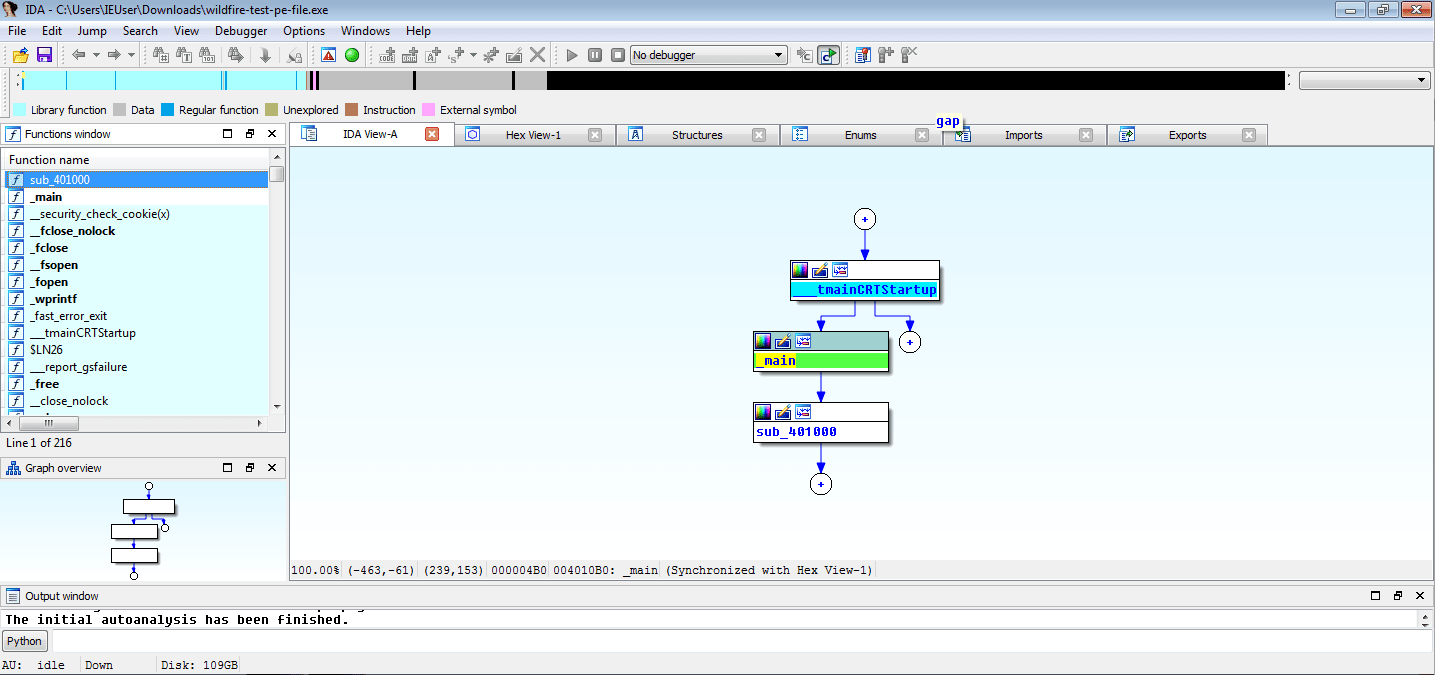
If you load a file, IDA will create a database "idb". The database contains:
- Name.id0
- name.id1
- name.nam
- Name.til
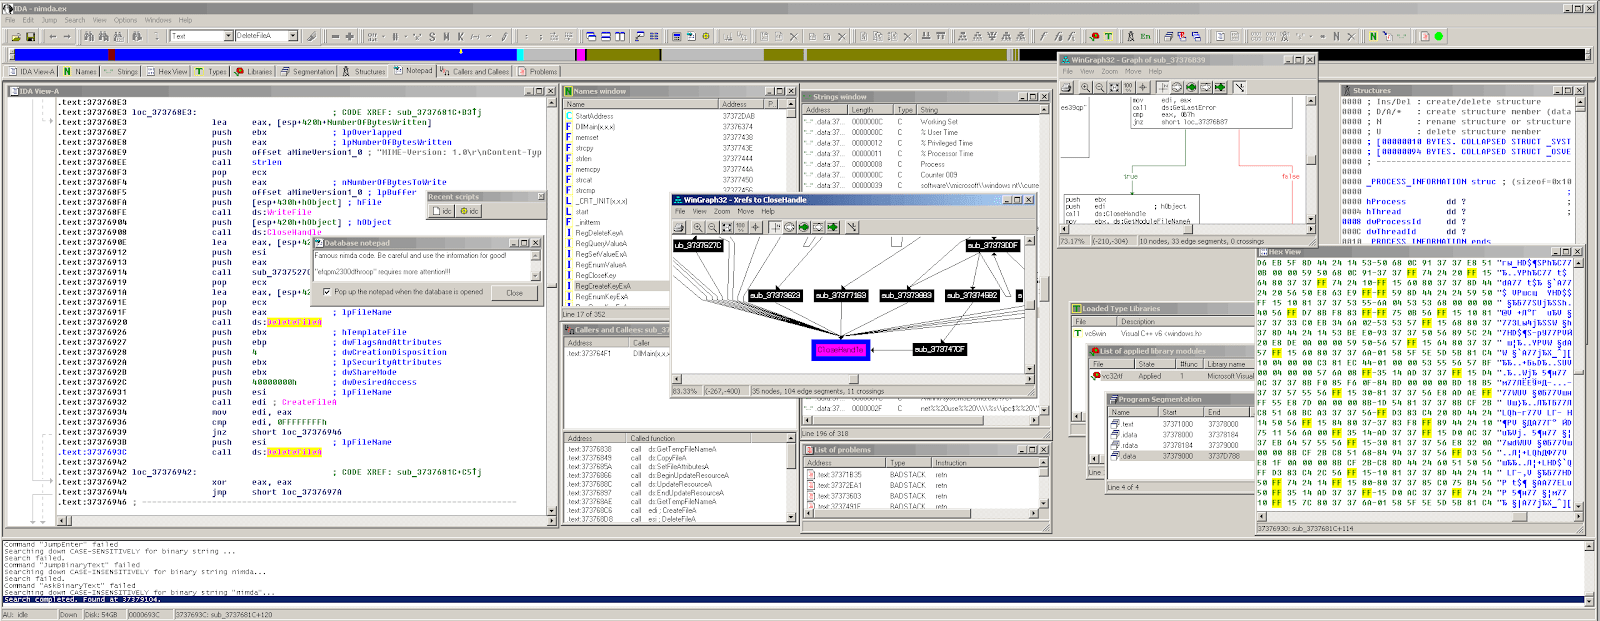
The main interface contains many views and windows:
This bar called "the navigation band" illustrates the memory space used by the binary

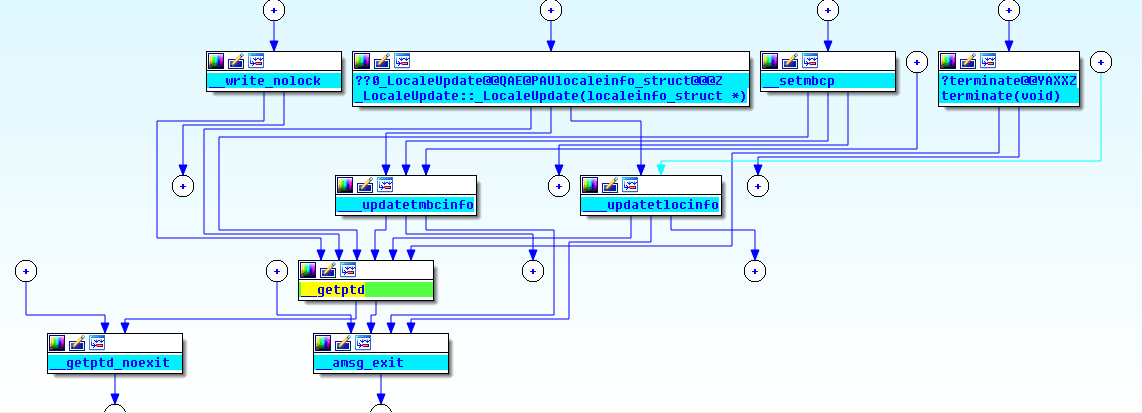
There is also a graph view to display functions as graphs and sub-graphs
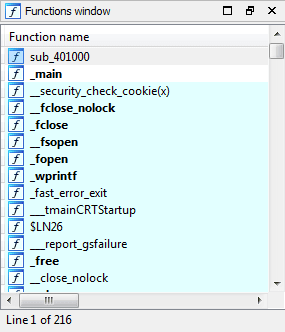
Functions Window:
It lists all the recognizable functions by IDA pro
Imports
It shows the imported libraries by the loaded binary

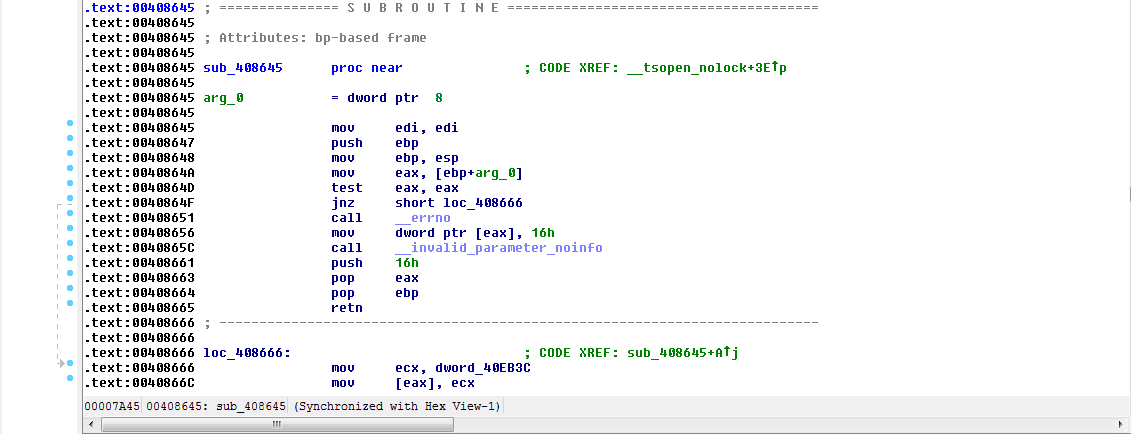
The following is the text view where data is represented as disassembly
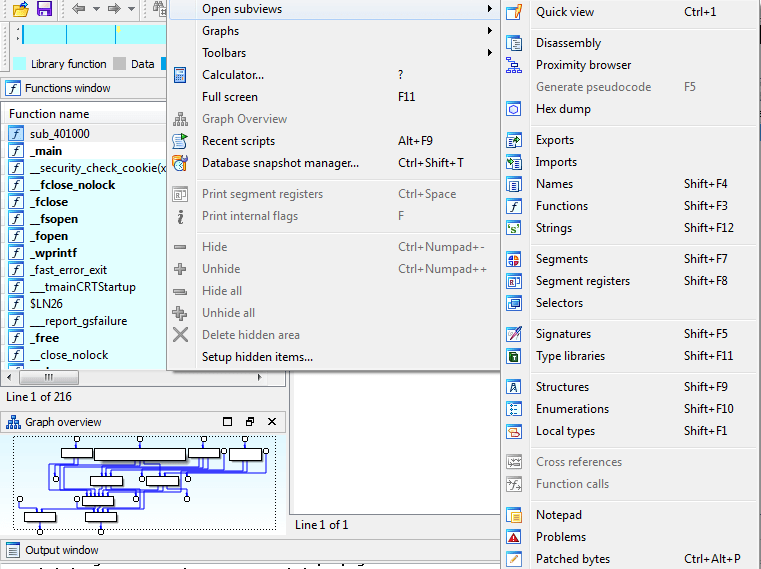
You can find a lot of other available views: view -\> Open Subviews
To facilitate the navigation you can simply use the IDA shortcuts including:
Go to a new window: Alt+Enter Text: Alt+T Names: Shift+F4 Functions: Shift+F3
You can find the full list here: Datarescue Interactive Disassembler (IDA) Pro Quick Reference Sheet
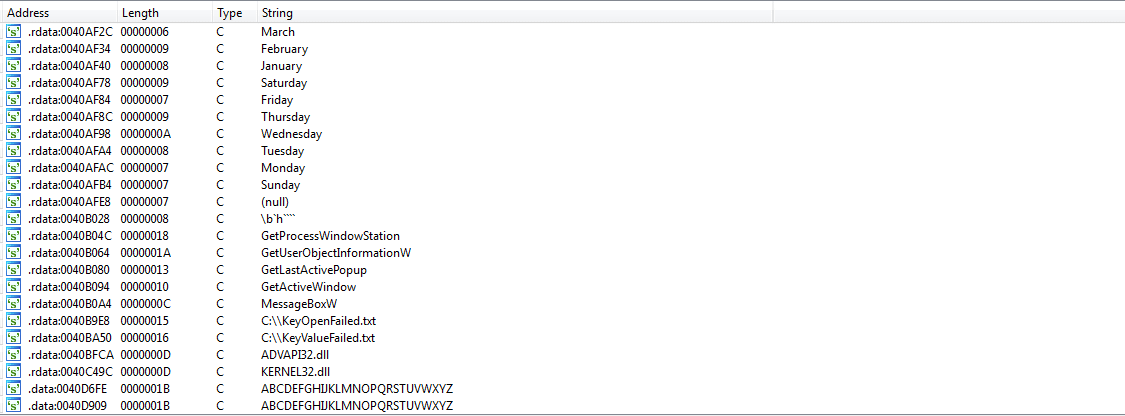
Based on its great capabilities IDA Pro is very helpful when it comes to Malware Analysis since it gives you the ability to extract many pieces of information including Strings (F21), imports, exports, graph flows and so on:
If you want to explore another great tool, I highly recommend you to take a look at my article:" How to Perform Static Malware Analysis with Radare2"
In this article, we did a high-level overview of IDA PRO